Vulcan-hart SG4D ML-114875 User Manual
Browse online or download User Manual for Convection ovens Vulcan-hart SG4D ML-114875. Vulcan-Hart SG4D ML-114875 Manuel d'utilisation
- Page / 52
- Table of contents
- TROUBLESHOOTING
- BOOKMARKS
Rated. / 5. Based on customer reviews
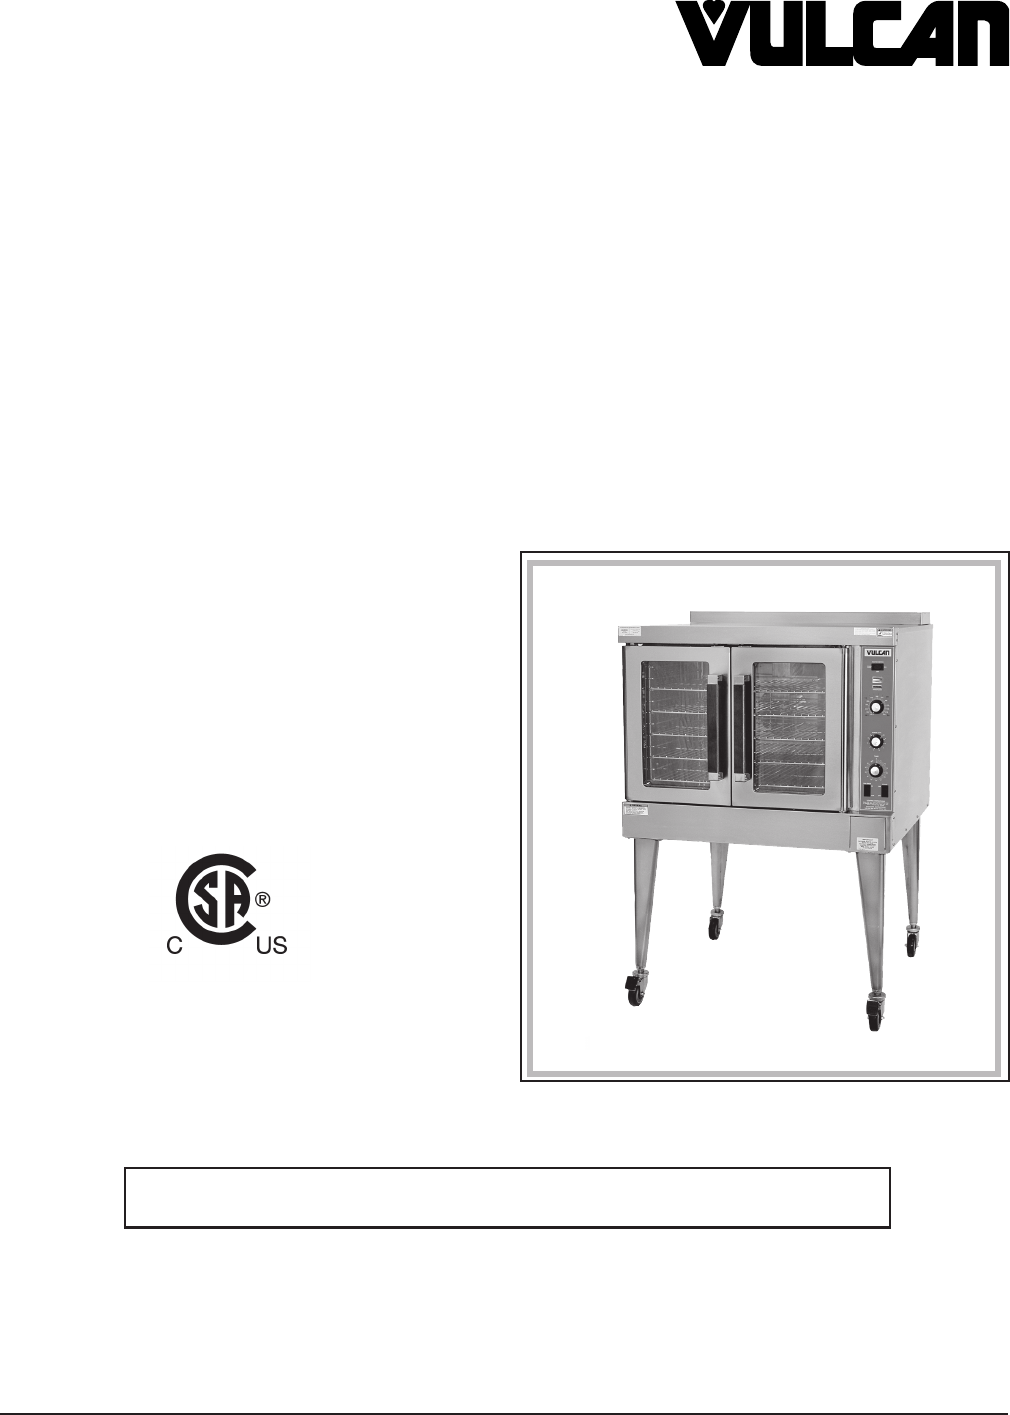
SG SERIES GAS SNORKEL
™
CONVECTION OVENS
MODELS
SG4D ML-114875
SG4C ML-114876
SG6D ML-114877
SG6C ML-114878
INSTALLATION &
OPERATION MANUAL
P.O. BOX 696, LOUISVILLE, KY 40201-0696
TEL. (502) 778-2791
FORM 35624 REV. B (12-07)
(Formerly F-31024 & F-33220)
VULCAN-HART
DIVISION OF ITW FOOD EQUIPMENT GROUP, LLC
WWW.VULCANHART.COM
For additional information on Vulcan-Hart or to locate an authorized parts
and service provider in your area, visit our website at www.vulcanhart.com
- INSTALLATION & 1
- OPERATION MANUAL 1
- FOR YOUR SAFETY 2
- IMPORTANT FOR YOUR SAFETY 2
- IMPORTANT 2
- GAS SNORKEL™ CONVECTION OVENS 3
- INSTALLATION 4
- CONNECT GAS 5
- LINE STRAIN 5
- RELIEF HERE 5
- PL-52884 6
- PL-52821 6
- OPERATION 10
- MENU SELECT 13
- PRODUCT TEMPERATURE 16
- PL-52806 17
- 2" (51 to 64 mm) 18
- Cont'd 20
- REHEATING PREPARED FOODS 20
- OVEN BROILING OR FRYING 21
- CASSEROLES 21
- MISCELLANEOUS PRODUCTS 21
- MAINTENANCE 23
- TROUBLESHOOTING GUIDE 24
- DÉPANNAGE 25
- ENTRETIEN 26
- FRITURE ET GRILLAGE AU FOUR 28
- ALIMENTS DIVERS 28
- RÉCHAUFFAGE DE PLATS CUISINÉS 29
- POSITION DES GRILLES 32
- TEMPÉRATURE DU PRODUIT 33
- SECONDAR 36
- FONCTIONNEMENT 41
- PL-52884-1 45
- ARRIÈRE DU FOUR 46
- AVANT DU FOUR 46
- FIXER LA CHAÎNE 47
- DE RETENUE DE 47
- LA CONDUITE 47
- D’ALIMENTATION 47
- EN GAZ ICI 47
- SG4D, SG4C, SG6D ET SG6C 49
- GÉNÉRALITÉS 49
- TABLE DES MATIÈRES 50
- AVERTISSEMENT 51
- MANUEL D'INSTALLATION 52
- ET MODE D’EMPLOI 52
Summary of Contents
Page 1 - OPERATION MANUAL
SG SERIES GAS SNORKEL™CONVECTION OVENSMODELSSG4D ML-114875SG4C ML-114876SG6D ML-114877SG6C ML-114878INSTALLATION &OPERATION MANUALP.O. BOX 696, LO
Page 2 - IMPORTANT
— 10 —OPERATION The oven and its parts are hot. Use care when operating, cleaning orservicing the oven.CONTROLS — MODELS SG4D AND SG6D (Fig. 4)Fig. 4
Page 3 - GAS SNORKEL™ CONVECTION OVENS
— 11 —Master Switch — ON — turns oven control circuits on.OFF — turns oven control circuits off.OVEN COOL — allows the fan motor to run with the doors
Page 4 - INSTALLATION
— 12 —LIGHTING THE SG4D AND SG6D OVENS1. Turn the main gas supply ON.2. Turn the gas control valve (located behind the small door on the lower front p
Page 5 - RELIEF HERE
— 13 —CONTROLS — Models SG4C and SG6C Built after October 1999Always displays [HR:Min] when setting the Time.Displays [HR:Min] if the countdown time i
Page 6 - PL-52821
— 14 —MANUALLY SETTING THE COOK TIME, TEMPERATURE, AND POWER LEVELTo Set the Cook Time• Press the SET button. Press the TIME button. Tine displays t
Page 7
— 15 —Always Set the Temperature Before Setting the Time• Press the SET button. Press the TEMPERATURE button; StPt displays. Use the Up and Down Arro
Page 8
— 16 —400ºF300ºF200ºF100ºFROAST AND HOLD DIAGRAM - Time vs. TemperatureSHORT BEEP.TIMER DISPLAY FLASHES 00:00.ROAST THERMOSTAT OFF.BURNERS OFF UNTIL H
Page 9
— 17 —RACK ARRANGEMENTSCAPACITY—All models are supplied with five racks and have a maximum operating capacity of sixracks per oven. The eleven-positio
Page 10 - OPERATION
— 18 —CONSERVING ENERGY• Turn off unused equipment.• Adjust menu patterns and cooking/baking schedules for optimum equipment use.• Reduce thermostat s
Page 11
— 19 —RECOMMENDED TEMPERATURES, TIMES, AND POWER LEVEL SETTINGS FOR BAKINGPOWER LEVELTEMP. TIME IN NO. OF SETTINGSPRODUCT °F °C MINUTES RACKSSG4/6D SG
Page 12
— 2 —IMPORTANT FOR YOUR SAFETYTHIS MANUAL HAS BEEN PREPARED FOR PERSONNEL QUALIFIED TO INSTALL GASEQUIPMENT, WHO SHOULD PERFORM THE INITIAL FIELD STAR
Page 13 - MENU SELECT
— 20 —POWER LEVELTEMP. TIME IN NO. OF SETTINGSPRODUCT °F °C MINUTES RACKSSG4/6D SG4/6CYeast Breads NOTE: Yeast breads should be fully proofed for be
Page 14
— 21 —OVEN BROILING OR FRYINGPOWER LEVELTEMP. TIME IN NO. OF SETTINGSPRODUCT °F °C MINUTES RACKSSG4/6D SG4/6CFish Sticks & PortionsFrozen Breaded
Page 15
— 22 —CLEANING Disconnect the electrical power to the machine and follow lockout / tagoutprocedures.Allow the oven to cool before cleaning.Snorkel Tu
Page 16 - PRODUCT TEMPERATURE
— 23 —MAINTENANCE The oven and its parts are hot. Use care when operating, cleaning orservicing the oven. Disconnect the electrical power to the mac
Page 17 - PL-52806
— 24 —TROUBLESHOOTING GUIDEPROBLEMUneven browning or overcookingat edges of pans.Product pulling to edge of pan orspilling.Product overbrowning before
Page 18 - 2" (51 to 64 mm)
— 28 —DÉPANNAGEPROBLÈME CAUSE CORRECTIFBrunissage inégal ou cuissonexcessive au bord des plaques.Aliments d’un côté de la plaque ouqui renversent.Brun
Page 19
— 27 —Des odeurs peuvent persister dans le four suite à la cuisson d’aliments à basse température. Pour les éliminer, réglerle thermostat à 260 °C (50
Page 20 - REHEATING PREPARED FOODS
— 26 —NETTOYAGEAVERTISSEMENT : COUPER L’ALIMENTATION ÉLECTRIQUE DE L’APPAREIL ET SUIVRE LESPROCÉDURES DE VERROUILLAGE ET D’ÉTIQUETAGE.Lais
Page 21 - MISCELLANEOUS PRODUCTS
— 25 —FRITURE ET GRILLAGE AU FOURRÉGLAGESTEMPS D’INTENSITÉTEMPÉRATURE DE CUISSON NOMBRE DEPRODUIT °C (°F) EN MINUTES GRILLES SG4/6D SG4/6CBâtonnets et
Page 22
— 24 —TEMPÉRATURES, TEMPS DE CUISSON ET INTENSITÉSRECOMMANDÉS POUR LES PÂTISSERIES (suite)RÉGLAGESTEMPS D’INTENSITÉTEMPÉRATURE DE CUISSON NOMBRE DEPRO
Page 23 - MAINTENANCE
— 3 —Installation, Operation and Care ofMODEL SG4D, SG4C, SG6D & SG6CGAS SNORKEL™ CONVECTION OVENSPLEASE KEEP THIS MANUAL FOR FUTURE USEGENERALVul
Page 24 - TROUBLESHOOTING GUIDE
— 23 —TEMPÉRATURES, TEMPS DE CUISSON ET INTENSITÉSRECOMMANDÉS POUR LES PÂTISSERIESRÉGLAGESTEMPS D’INTENSITÉTEMPÉRATURE DE CUISSON NOMBRE DEPRODUIT °C
Page 25 - DÉPANNAGE
— 22 —CONSERVATION DE L’ÉNERGIE• Éteindre le four lorsqu’il se sert pas.• Modifier les menus et horaires de cuisson pour l’utilisation optimale de l’a
Page 26 - ENTRETIEN
— 21 —Fig. 6ARRANGEMENT DES GRILLESCAPACITÉ - Tous les modèles sont pourvus de cinq grilles, mais peuvent cuire un maximum de six grilles d’alimentspa
Page 27
— 20 —400ºF300ºF200ºF100ºFDIAGRAMME DE RÔTISSAGE ET GARDE-AU-CHAUD – Temps vs températureCOURTE TONALITÉ. 00:00 S’AFFICHE ETCLIGNOTE. THERMOSTAT DE RÔ
Page 28 - ALIMENTS DIVERS
— 19 —Toujours régler la température avant de régler le tempsToujours régler la température avant de régler le tempsToujours régler la température ava
Page 29 - RÉCHAUFFAGE DE PLATS CUISINÉS
— 18 —RÉGLAGE MANUEL DE LA TEMPÉRATURE ET DU TEMPS DE CUISSONPour régler le temps de cuissonPour régler le temps de cuissonPour régler le temps
Page 30
— 17 —Indique que le four est en mode RÔTISSAGE ET GARDE-AU-CHAUD.Indique que le four est préchauffé et prêt pour la cuisson.Indique que le four préch
Page 31
— 16 —COMMANDES – MODÈLES SG4C et SG6C fabriqués après octobre 1999
Page 32 - POSITION DES GRILLES
— 15 —Fig. 5À la fin de la journée1. Mettre l’interrupteur principal à OVEN COOL (refroidissement du four). Laisser les portes entrouvertes pendantque
Page 33 - TEMPÉRATURE DU PRODUIT
— 14 —ALLUMAGE DES FOURS SG4D ET SG6D1. Ouvrir le robinet de gaz principal.2. Ouvrir le robinet de commande du gaz situé derrière la petite porte du p
Page 34
— 4 —INSTALLATION CODES AND STANDARDSVulcan ovens must be installed in accordance with:In the United States of America:1. State and local codes.2. Nat
Page 35
— 13 —Interrupteur principal — ON (marche) – pour la mise sous tension des circuits decommande du four.OFF (arrêt) – pour la mise hors tension des cir
Page 36 - SECONDAR
— 12 —Fig. 4FONCTIONNEMENTAVERTISSEMENT : LE FOUR ET SES COMPOSANTS SONT CHAUDS. EXERCER UNEEXTRÊME PRUDENCE LORS DE SON UTILISATION OU NETTOYAGE.COMM
Page 37
— 11 —SYSTÈME D’ÉVACUATIONNE PAS obstruer le débit des gaz brûlés dans le conduit d’évacuation à l’arrière de l’appareil. On recommandel’évacuation de
Page 38
— 10 —BRANCHEMENT DU GAZLes raccords d’alimentation de la conduite de gaz et la pâte à joints de tuyaux doivent résister àl’action du gaz propane.L’en
Page 39
— 9 —NIVELAGES’assurer que les grilles du four sont de niveau une fois celui-ci installé. Dans le cas d’un four sur pattes, régler lespieds pour nivel
Page 40
— 8 —COUVERCLE DECONDUIT D’ÉVACUATIONCONDUITD’ÉVACUATIONCOMMUNDEUX PIÈCESPL-52884-1SUPERPOSITION DE FOURSDéballer le four et le nécessaire de superpos
Page 41 - FONCTIONNEMENT
— 7 —Assemblage des pattesPoser les pattes en dessous du four. Coucher le four sur le dos en prenant soin de ne pas l’égratigner ou l’endommager.Puisq
Page 42
— 6 —CODES D’INSTALLATION ET NORMESL’installation des fours Vulcan doit se faire selon les codes suivants :Aux États-Unis :1. Codes locaux.2. Norme AN
Page 43
— 5 —INSTALLATIONAvant de procéder à l’installation, s’assurer que l’alimentation électrique de l’immeuble et le type de gaz (naturel oupropane) corre
Page 44
— 4 —CARACTÉRISTIQUESRôtissage etModèle Thermostat Minuterie Nécessaire de garde-au- Pattes(chaque four) (chaque four) superposition chaud mm (po)SG4
Page 45 - PL-52884-1
— 5 —Fig. 1CONNECT GAS LINE STRAIN RELIEF HEREPL-52805NOTE: In the Commonwealth of Massachusetts,All gas appliances vented through a ventilation hood
Page 46 - AVANT DU FOUR
— 3 —TABLE DES MATIÈRESGÉNÉRALITÉS . . . . . . . . . . . . . . . . . . . . . . . . . . . . . . . . . . . . . . . . . . . . . . . . . . . . . . . . . .
Page 47 - EN GAZ ICI
— 2 —© VULCAN-HART COMPANY, 1997MESURES DE SÉCURITÉ IMPORTANTESCE MANUEL A ÉTÉ PRÉPARÉ À L’INTENTION D’UN PERSONNEL QUALIFIÉ ET AUTORISÉÀ INSTALLER DE
Page 48
FOUR À AIR PULSÉ AU GAZSNORKELMD DE LA SÉRIE SGMODÈLESSG4D ML-114875SG4C ML-114876SG6D ML-114877SG6C ML-114878MANUEL D'INSTALLATIONET MODE D’EMPL
Page 49 - GÉNÉRALITÉS
— 6 —ASSEMBLING STACKED OVENSUnpack the ovens and stack kit. Position the oven to be used as the bottomoven on its back for access to the oven bottom,
Page 50 - TABLE DES MATIÈRES
— 7 —The manual gas valve, located behind the small door in the lower front panel, should remain off untilall electrical and gas connections are made
Page 51 - AVERTISSEMENT
— 8 —GAS CONNECTIONSGas supply connections and any pipe joint compound must be resistant to the action of propane gases.Location of the gas inlet is a
Page 52 - ET MODE D’EMPLOI
— 9 —VENT SYSTEMDO NOT obstruct the flow of flue gases from the flue located on the rear of the oven. It is recommendedthat the flue gases be ventila
Related products and manuals for Convection ovens Vulcan-hart SG4D ML-114875
 (18 pages)
 (56 pages)
© 2020, manymanuals.com. All rights reserved. | 1.003 s |
 Manymanuals.com
 Manymanuals.de
 Manymanuals.fr
 Manymanuals.it
 Manymanuals.pl
 Manymanuals.cz
 Manymanuals.es
 Manymanuals-pt.com
Comments to this Manuals